

So you’ve decided it’s time for a fresh coat of paint on your walls but you’re not quite sure where to start. Don’t worry, you’re not alone! Painting your walls can be a daunting task, especially if you’ve never done it before. But fear not, because we’re here to guide you through the process step by step. From choosing the right paint color to prepping your walls and applying the paint, we’ve got you covered. By the end of this article, you’ll have all the information you need to confidently tackle your wall-painting project and transform your space. So let’s get started!
Choosing the Right Paint
When it comes to painting your walls, the first step is to choose the right type of paint. There are various options available, such as latex, oil-based, and specialty paints. Consider factors like the room’s purpose, the surface you’re painting, and your personal preferences.
Determine the Type of Paint
Before heading to the paint store, take some time to evaluate your needs. If you’re painting a high-traffic area, like a hallway or kitchen, it’s best to opt for a durable and washable paint, such as latex. On the other hand, oil-based paints are great for surfaces that need to withstand moisture or heat, like bathroom walls or kitchen cabinets. Additionally, specialty paints like chalkboard or magnetic paint can add unique features to your walls.
Consider the Finish
After choosing the type of paint, you’ll need to decide on the finish. The finish determines the sheen or shine of the paint, ranging from flat to high gloss. Each finish has its own advantages and drawbacks. For instance, flat finishes are great at concealing imperfections but aren’t as washable as higher gloss finishes. On the other hand, high gloss finishes are highly durable and easy to clean but tend to highlight surface flaws. Consider the room’s lighting, the desired look, and the level of maintenance you’re willing to commit to when selecting the finish.
Select the Color
Picking the right color can completely transform the mood and aesthetic of a room. Take into account factors like the room’s purpose, existing furniture and decor, and personal preferences. Consider whether you want a neutral color that enhances other elements in the room or a bold statement color that stands out. Don’t be afraid to experiment with paint samples on the walls before making your final decision.
Preparing the Room
Before you even open the paint cans, proper room preparation is crucial for a successful paint job. This step will make your painting process smoother and minimize the risk of damage to your furniture and flooring.
Clear the Room
Start by removing all furniture, decorations, and fixtures from the room. It’s much easier to paint a room when it is empty and free from obstructions. If you can’t move larger furniture pieces, try to push them to the center of the room and cover them securely with plastic sheets.
Cover and Protect Furniture and Flooring
Covering your furniture and flooring with drop cloths or plastic sheets will prevent accidental paint splatters and spills. Use durable materials that can withstand paint and are easy to clean. Ensure that the coverings are secured and taped down to avoid tripping hazards or accidental uncovering during the painting process.
Repair Wall Imperfections
Inspect the walls for any imperfections, such as cracks, holes, or dents. Use spackling paste or a wall patching compound to fill in these imperfections and sand them smooth once dry. This will provide a clean and even surface, ensuring a professional-looking paint job.
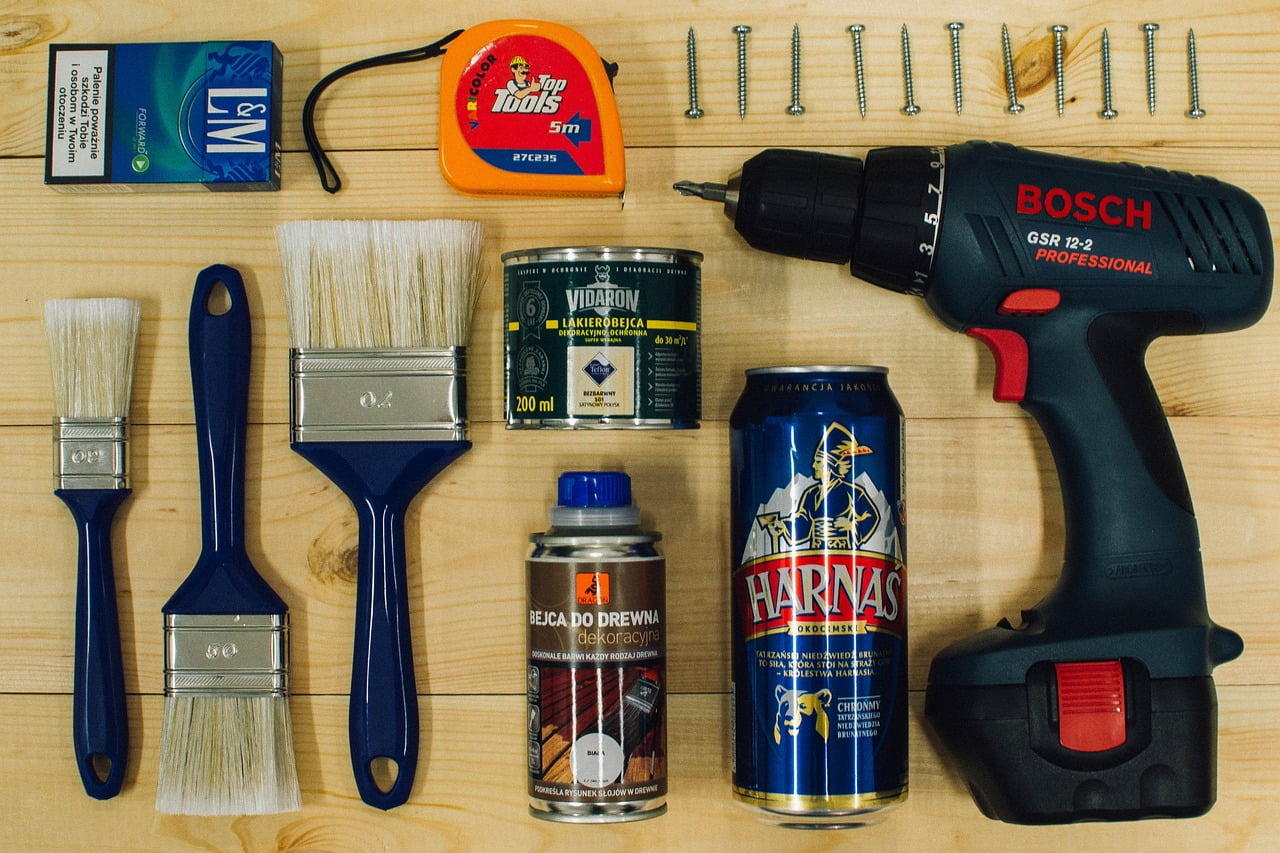
Gathering the Necessary Tools and Materials
To paint your walls efficiently, you’ll need to gather the right tools and materials before you begin. Having everything on hand will save you time and prevent interruptions during the painting process.
Paintbrushes and Rollers
Invest in high-quality paintbrushes and rollers that are appropriate for the type of paint you’ve chosen. Different brushes and rollers are designed for different purposes, such as cutting in or rolling larger areas. Look for brushes with synthetic bristles for latex paint and natural bristles for oil-based paint.
Painter’s Tape
Painter’s tape is an essential tool for achieving clean and sharp lines. Use it to protect areas you don’t want to paint, such as trim, baseboards, windows, and door frames. Apply the tape carefully and make sure it adheres well to the surface to avoid paint bleeding underneath.
Drop Cloths
As mentioned earlier, covering your furniture and flooring with drop cloths is crucial to protect them from paint splatters and spills. Choose durable drop cloths made of canvas or plastic that are large enough to cover the entire area you’re working on.
Paint Trays
Paint trays are essential for holding and distributing paint when using a roller. Opt for sturdy trays that are easy to clean and have ridges to remove excess paint from the roller.
Primer
Primer is a crucial step if you’re painting over a dark or unevenly colored surface, have repaired significant wall imperfections, or are making a drastic color change. Primer provides a smooth and consistent base for the paint to adhere to, enhancing the overall finish and longevity of your paint job.
Preparing the Walls
Once you have gathered all the necessary tools and materials, it’s time to prepare the walls for painting. Proper preparation will ensure that the paint adheres well and provides a professional-looking finish.
Remove Wall Decor and Fixtures
Take down any wall decor, such as picture frames, mirrors, and shelves. It’s also advisable to remove switch plates, outlet covers, and any other fixtures attached to the walls. This will make it easier to paint and ensure a smooth and even application.
Clean the Walls
Cleaning the walls before painting is essential to remove any dust, dirt, or grease that could affect paint adhesion. Use a mild detergent mixed with warm water and a sponge or cloth to gently clean the walls. Pay special attention to areas near the floor, corners, and around light switches. Once clean, allow the walls to dry completely before proceeding to the next steps.
Apply Painter’s Tape
Carefully apply painter’s tape along the edges of trim, baseboards, ceilings, and any other areas you want to protect from paint. Press the tape firmly to ensure a tight seal and smooth out any air bubbles. Taking the time to apply painter’s tape properly will result in clean and precise lines.
Priming the Walls
Priming the walls is an important step that should not be skipped in certain situations. Primers create a neutral base for the paint to adhere to, ensuring better coverage and an even finish.
Determine the Need for Primer
Consider the condition of your walls and the type of paint you’re using to determine if you need to apply primer. If you’re painting over a previously painted surface with a similar color, and the walls are in good condition, you may be able to skip primer. However, if you’re painting over a dark color, repairing significant imperfections, or undergoing a drastic color change, applying primer is highly recommended.
Apply Primer
If primer is needed, apply it to the walls using a roller or brush. Make sure to follow the manufacturer’s instructions regarding drying time and number of coats. Allow the primer to dry completely before moving on to the next steps.
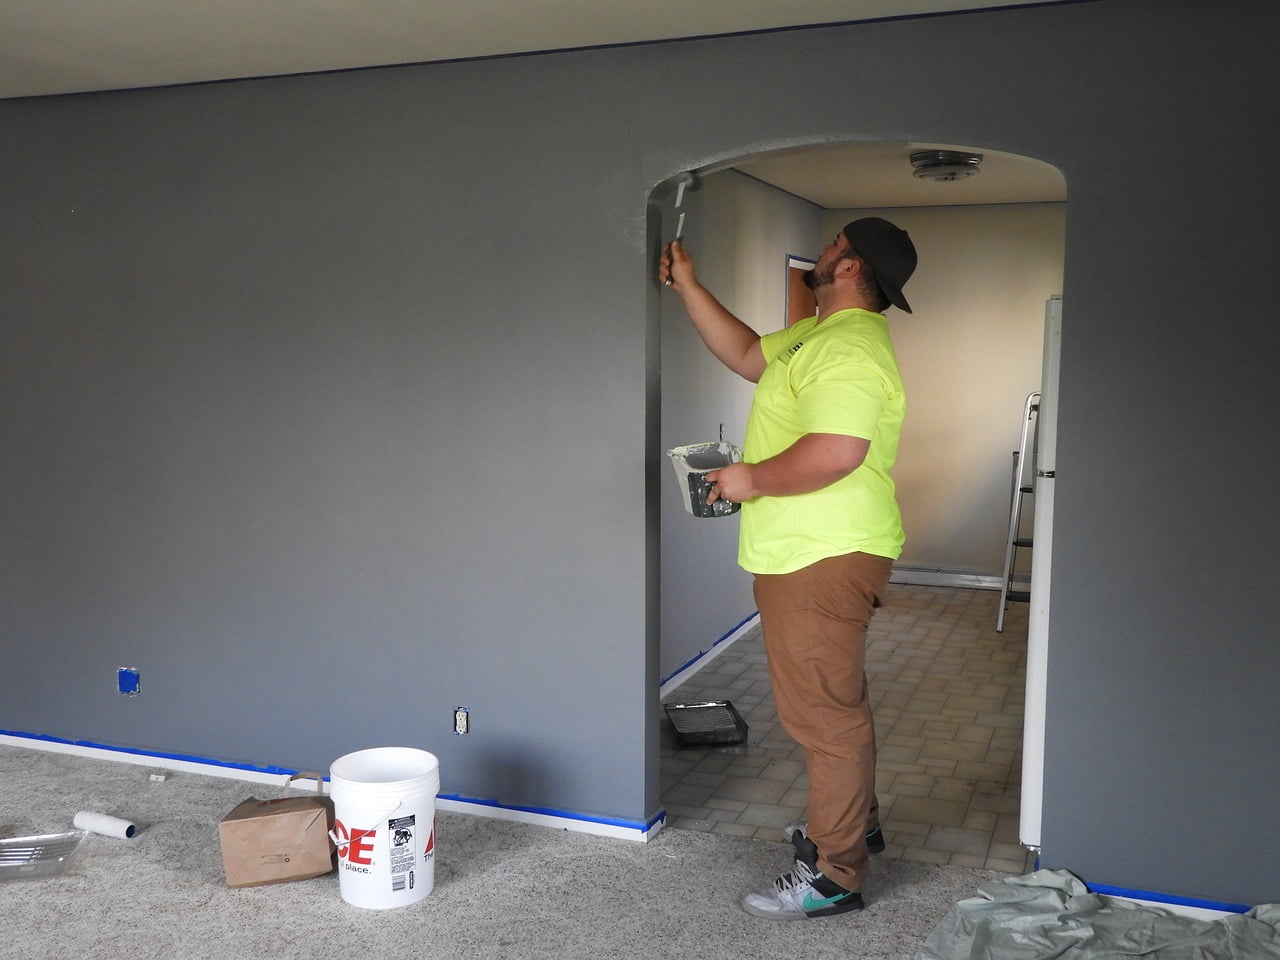
Painting the Walls
Now comes the exciting part – actually painting the walls. Follow these steps to achieve a professional-looking paint job.
Mix the Paint
Before starting, thoroughly mix the paint using a stirring stick. This will ensure that the color pigments are evenly distributed and provide consistent coverage. If you’re using multiple cans of paint, pour them into a larger bucket and mix them together to avoid any slight color variations.
Start with Cutting In
Cutting in is the process of painting the edges, corners, and areas near trim or ceilings using a brush. This helps create clean lines and makes it easier to fill in the larger areas with a roller. Dip the brush about a third of the way into the paint and gently tap the brush against the inner side of the can to remove any excess. Paint along the edges with smooth strokes, overlapping slightly onto the adjacent surfaces.
Roll the Walls
Once you’ve cut in, it’s time to tackle the larger wall areas with a roller. Pour paint into a paint tray and load the roller by rolling it into the paint, removing any excess on the ridges of the tray. Start at the top of the wall, rolling the paint in a “W” or “M” shape to evenly distribute it. Apply gentle pressure and maintain an even speed to avoid drips or streaks. Work your way down the wall, slightly overlapping each section to ensure consistent coverage.
Apply Additional Coats
In most cases, one coat of paint may not provide sufficient coverage, especially if you’re making a color change or using a lighter color over a darker one. Allow the first coat to dry completely, as indicated by the manufacturer’s instructions, before applying additional coats. Apply each subsequent coat in the same manner, ensuring even coverage and avoiding visible brush or roller lines.
Dealing with Tricky Areas
Certain areas of the room, such as corners, edges, ceilings, and baseboards, require special attention to achieve a polished finish.
Corners and Edges
Use a smaller brush or an angled brush to reach tight corners and edges. Take your time and use steady, controlled strokes to ensure precise painting and avoid getting paint on adjacent surfaces.
Ceiling and Baseboards
When painting near the ceiling, use a steady hand or a small brush to create a clean and straight line where the wall meets the ceiling. To avoid accidental brush strokes on the ceiling, hold a wide putty knife or a piece of cardboard against the ceiling as a barrier. Similarly, when painting near the baseboards, protect them with painter’s tape and use a steady hand or a small brush to create a sharp line where the wall meets the baseboard.
Drying and Curing
After you’ve completed the painting process, it’s important to allow sufficient drying and curing time for the paint to set and harden properly.
Allow Sufficient Drying Time
The drying time for paint varies depending on the type and brand you’re using. It’s essential to follow the manufacturer’s instructions and allow the paint to dry fully before moving furniture back into the room and removing any coverings. Rushing the drying process may result in smudges, fingerprints, or damage to the paint.
Ensure Proper Ventilation
While the paint is drying, ensure proper ventilation in the room to help eliminate fumes and aid in the drying process. Open windows or use fans to ensure good airflow. However, be cautious about introducing any dirt or dust into the freshly painted room.
Cleaning Up
Once the paint has dried and cured, it’s time to clean up the area and put away your painting supplies.
Remove Drop Cloths and Tape
Carefully remove the drop cloths and tape from the room, making sure there are no paint drips or spills. Fold the drop cloths neatly, shake off any excess paint outdoors, and store them for future use. Gently remove the painter’s tape at a 45-degree angle to avoid damaging the walls.
Clean Brushes and Rollers
Properly clean your brushes and rollers to ensure their longevity and prevent dried paint from clogging the bristles or nap. If you used latex paint, wash the brushes and rollers with warm soapy water, rinsing them thoroughly. For oil-based paint, use paint thinner or mineral spirits to clean the brushes and rollers. Once clean, reshape the bristles and let them dry completely before storing.
Final Touches
Now that the room is clean, freshly painted, and back in order, it’s time for the final touches to complete the paint job.
Inspect the Paint Job
Take a step back and inspect the walls for any missed spots, visible brush or roller lines, or other imperfections. Touch up any areas that need additional coverage using a brush or roller. Pay attention to lighting conditions in the room, as some imperfections may be more noticeable under certain lighting.
Reinstall Wall Decor and Fixtures
Once you’re satisfied with the paint job, it’s time to rehang your wall decor and reinstall any fixtures you removed. Take your time to place everything back in its designated spot, ensuring everything is straight and properly secured. Step back and appreciate the transformation you’ve achieved through your hard work and painting skills.
In conclusion, painting your walls can be a rewarding and transformative experience. By carefully choosing the right type of paint, preparing the room and walls adequately, and using the appropriate tools and techniques, you can achieve professional results. With patience, attention to detail, and a bit of creativity, you’ll soon enjoy a fresh and vibrant living space that reflects your personal style. Happy painting!