Alright, so you’ve got yourself a projector but you’re not quite sure where to begin. Don’t worry, we’ve got you covered! In this article, we’ll walk you through the essential steps on how to use a projector, from setting it up to getting that movie or presentation playing on the big screen. So grab your popcorn and get ready to learn the ropes of projector usage like a pro. Let’s get started!
Choosing the Right Projector
When choosing a projector, there are several factors that you should consider to ensure that it is the right fit for your needs. The first thing to consider is the size of the room where you plan to use the projector. If you have a small room, a projector with a lower throw distance and brightness may be sufficient. On the other hand, if you have a large room, you will need a projector that can fill the space adequately.
Next, you need to determine the type of projector that will best suit your needs. There are different types available, such as LCD, DLP, and LED projectors. Each type has its advantages and disadvantages, so do some research to find out which one will work best for your specific requirements.
Another important factor to consider is the projector resolution. The resolution determines the clarity and detail of the projected image. Common resolutions include 1080p (Full HD), 4K, and 8K. Choose a resolution that aligns with your viewing preferences and the type of content you plan to display.
Throw distance is another crucial consideration when choosing a projector. This refers to the distance between the projector and the screen or wall where the image is projected. Different projectors have different throw distances, so be sure to choose one that can be easily adjusted to fit your room size and setup.
Lastly, evaluate the brightness and contrast ratio of the projector. Brightness is measured in lumens, and a higher lumen count means a brighter image. Contrast ratio refers to the difference between the darkest and brightest parts of an image. A higher contrast ratio will result in more vibrant and detailed visuals. Consider the lighting conditions of the room and your viewing preferences when selecting the right brightness and contrast ratio for your projector.
Setting Up the Projector
Now that you have chosen the right projector for your needs, it’s time to set it up for optimal performance. Follow these steps to ensure a smooth setup process:
- Select the Projector Location: Choose a suitable location for your projector that provides enough space for projection and ensures proper ventilation. Consider factors such as projector distance, ceiling or wall mounting, and accessibility for connecting cables.
- Connect the Power: Plug in the power cord of the projector into a power outlet. Make sure you are using the correct voltage and follow any specific instructions provided by the manufacturer.
- Connect the Input Source: Depending on the devices you want to connect to the projector, use the appropriate cables (HDMI, VGA, etc.) to connect your input source (computer, DVD/Blu-ray player, gaming console, etc.) to the projector. Ensure that all the connections are secure.
- Adjust the Projector Position: Position the projector at the desired distance from the screen or wall. Use the zoom and focus controls to adjust the size and sharpness of the projected image. It’s important to follow the manufacturer’s guidelines for the optimal position and distance.
- Focus the Image: Adjust the focus wheel or settings on the projector until the image appears sharp and clear. Fine-tune the focus by referring to the on-screen display or menu if necessary.
- Adjust the Keystone Correction: If the projector is not positioned straight onto the screen or wall, it may result in a trapezoidal image. Use the keystone correction feature on the projector to adjust for this and make the image appear rectangular.
- Fine-tune the Image: Use the projector’s settings to adjust the image according to your preferences. You can make changes to the brightness, contrast, color saturation, and other picture settings to enhance the viewing experience.
- Connect External Speakers (optional): If you want to enhance the audio quality, you can connect external speakers to the projector. Use the appropriate audio cables to make the connections and adjust the volume settings accordingly.
Configuring the Projector Settings
Once the projector is set up physically, it’s time to configure the various settings to optimize the image and audio output. Follow these steps to configure the projector settings:
- Accessing the Projector Menus: Most projectors have an on-screen display menu that allows you to customize the settings. Use the remote control or the control panel on the projector itself to access the menu.
- Selecting the Language: Choose your preferred language for the projector’s menu system. This will make it easier for you to navigate and understand the settings.
- Adjusting Picture Mode and Brightness: Select the appropriate picture mode (e.g., Standard, Cinema, Dynamic) based on your viewing environment and personal preferences. Adjust the brightness settings according to the lighting conditions of the room.
- Changing Aspect Ratio: Set the aspect ratio to match the content you are projecting. Common aspect ratios include 16:9 (widescreen) and 4:3 (standard). Select the aspect ratio that provides the best fit for your content.
- Customizing Color and Contrast: Fine-tune the color temperature, saturation, hue, and contrast settings to achieve the desired color accuracy and picture quality. Use test images or professional calibration tools for optimal results.
- Setting up Keystone Correction: If you didn’t adjust the keystone correction during the setup phase, you can make further adjustments in the projector’s settings menu to ensure a proper rectangular image.
- Selecting Input Source: Choose the correct input source (HDMI, VGA, etc.) that corresponds to the device you have connected to the projector. This allows the projector to receive the video signal from the correct source.
- Adjusting Speaker Volume and Audio Settings: Use the projector’s audio settings to adjust the volume level, balance, and other audio-related settings. This is especially important if you are using the projector’s built-in speakers or external speakers connected directly to the projector.

Connecting Devices to the Projector
Connecting various devices to your projector allows you to display different types of content. Here are the steps to connect common devices to a projector:
- Connecting a Computer/Laptop: Use a compatible cable (HDMI, VGA, etc.) to connect your computer or laptop to the projector. Select the corresponding input source on the projector and configure the display settings on your computer to extend or duplicate the screen.
- Connecting a DVD/Blu-ray Player: Connect the DVD or Blu-ray player to the projector using an HDMI or component video cable. Select the correct input source on the projector, and the content from the player should be displayed on the screen.
- Connecting a Gaming Console: Connect the gaming console to the projector using an HDMI, component video, or VGA cable. Select the appropriate input source on the projector, and you should be able to play games on the big screen.
- Connecting a Mobile Device: Depending on the type of mobile device, you can connect it to the projector using various cables or wireless methods. Follow the specific instructions for your device to establish a connection and start projecting.
- Connecting External Speakers: If you have external speakers that you want to use for better audio quality, connect them directly to the projector using the appropriate audio cables. Adjust the volume settings on both the projector and the speakers to achieve the desired sound level.
Using Wireless Projection
Wireless projection allows you to connect and stream content from your mobile devices without the need for cables. Here’s how you can use wireless projection:
- Check for Wireless Projection Capability: Make sure your projector has built-in wireless projection capability or supports wireless adapters. Some projectors may require specific wireless accessories for this feature.
- Connect to the Wireless Network: Ensure that your projector is connected to the same wireless network as your mobile device. Refer to the projector’s manual for instructions on how to connect to a wireless network.
- Enable Wi-Fi Projection on the Projector: Access the projector’s settings and enable the Wi-Fi projection feature. This will allow your mobile devices to detect and connect to the projector wirelessly.
- Connect and Stream from Mobile Devices: On your mobile device, go to the wireless settings and search for available devices. Select your projector from the list of devices and establish a wireless connection. Once connected, you can start streaming content to the projector.
- Troubleshooting Wireless Connection Issues: If you’re experiencing connection issues, make sure that both the projector and mobile device are connected to the same network. Check for any firmware updates for the projector, and ensure that the wireless signal strength is strong enough for smooth streaming.
Managing Power and Energy Settings
Properly managing power and energy settings not only prolongs the lifespan of your projector but also helps conserve energy. Here are some tips for managing power:
- Powering On and Off: Use the designated power button or remote control to power the projector on and off. Avoid unplugging the projector directly from the power source, as it can result in data loss.
- Using Sleep and Standby Modes: Take advantage of sleep or standby modes when the projector is not in use. These modes help conserve energy by reducing power consumption while keeping the projector in a state ready for quick use.
- Adjusting Power Saving Settings: Most projectors have power-saving settings that allow you to control the brightness and power consumption. Lowering the brightness or activating eco mode can extend the lamp life and reduce energy usage.
- Managing Lamp Life and Replacement: Keep an eye on the projector’s lamp usage hours and follow the manufacturer’s guidelines for lamp replacement. Regularly clean the filters to prevent overheating and ensure proper ventilation.
Caring for the Projector
Taking care of your projector is essential to maintain its performance and prolong its lifespan. Here are some tips for caring for your projector:
- Cleaning the Lens and Projector Exterior: Use a microfiber cloth or lens cleaning solution to clean the projector lens and outer casing. Avoid using abrasive materials or strong cleaners that could damage the surface.
- Managing Proper Ventilation: Ensure that the projector has adequate airflow for proper cooling. Keep the vents clear of dust and debris and avoid blocking the ventilation openings. Consider using a projector ceiling mount or stand that allows for proper ventilation.
- Storing the Projector: When not in use, store the projector in a clean and dust-free environment. Use a protective case or cover to prevent damage and keep it away from extreme temperatures or humidity.
- Handling and Transporting the Projector: When moving or transporting the projector, use caution to avoid jarring or shaking it. Follow the manufacturer’s guidelines for safe handling and packaging to prevent any damage.
Troubleshooting Common Issues
Sometimes, you may encounter common issues with your projector. Here are some troubleshooting tips for the most common problems:
- No Image/Blank Screen: Check the connections between the projector and the input source to ensure they are secure. Adjust the input source on the projector and try different cables if necessary. Make sure the projector is powered on and the lens cap is removed.
- Poor Image Quality: Check the focus and keystone correction settings to ensure the image is sharp and properly aligned. Adjust the brightness, contrast, and color settings for better picture quality. Clean the lens and filters if they are dirty.
- Audio Issues: Make sure the volume is turned up on both the projector and the connected speakers. Check the audio cables for any loose connections or damage. Ensure that the audio source is correctly selected on the projector.
- Remote Control Problems: Check the batteries of the remote control and replace them if necessary. Make sure there are no obstructions between the remote control and the projector. If the remote control still doesn’t work, try re-syncing it with the projector.
- Overheating or Shutting Down: Ensure that the projector is not placed in a confined space or in direct sunlight. Clean the air vents and filters to prevent overheating. Check the projector’s temperature settings and adjust if necessary.
- Connection and Compatibility Problems: Ensure that the input source and the projector are compatible. Use the correct cables and adapters for the best connection quality. Update the firmware of the projector if connectivity issues persist.
Exploring Advanced Features
Once you are familiar with the basic functions of your projector, you can explore some advanced features to enhance your viewing experience. Here are a few advanced features commonly found in projectors:
- Using Picture-in-Picture (PIP): Some projectors offer a picture-in-picture feature, which allows you to display multiple sources simultaneously on the screen. This is useful for presentations or monitoring multiple videos or sources at once.
- Dual Projection/Multi-Projector Setup: If you require a larger projected image or want to create a panoramic view, you can use multiple projectors in a dual projection or multi-projector setup. This requires careful alignment and adjustment to ensure seamless blending of the images.
- Using 3D Projection: If you have 3D content and compatible glasses, you can enjoy a 3D viewing experience with a 3D-compatible projector. Enable the 3D mode on the projector and ensure that the content is in the correct format for 3D projection.
- Interactive Projection: Some projectors support interactive features, allowing you to interact directly with the projected image using touch or pen input. This is beneficial for educational purposes, presentations, or collaborative work.
- Advanced Calibration and Alignment: For professional applications and precise image reproduction, advanced calibration and alignment settings are available on certain projectors. These settings allow you to adjust color accuracy, gamma levels, and other parameters for optimal image quality.
Enhancing Projector Experience
To further enhance your projector experience, consider implementing the following tips:
- Using Projection Screens: Invest in a high-quality projection screen for better image reflection and improved viewing angles. Screens enhance color accuracy and help diffuse ambient light, resulting in sharper and more vibrant images.
- Optimizing Viewing Distance: Determine the ideal viewing distance based on the projector’s throw distance, screen size, and resolution. Sitting too close or too far can affect the viewing experience, so find the sweet spot for optimal image immersion.
- Ambient Lighting Adjustment: Create an environment with controlled ambient lighting to enhance the projected image. Dim the lights or use blackout curtains to reduce glare and improve contrast. Experiment with different lighting conditions to find the most suitable setting.
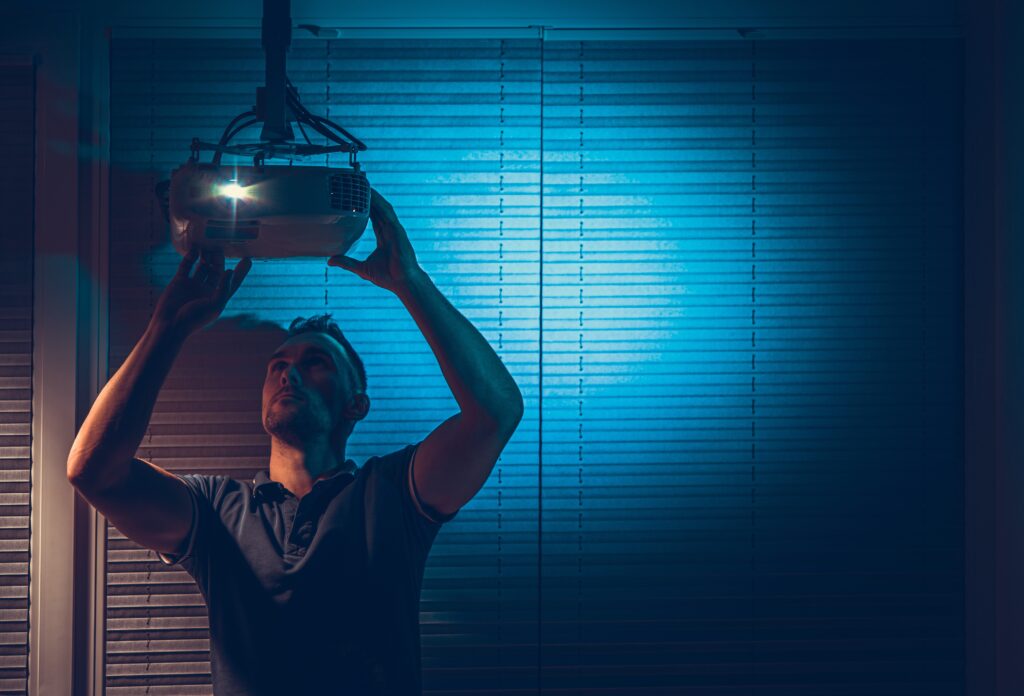
- Using Projector Mounts: Mounting the projector on the ceiling or wall not only saves space but also provides a secure and stable setup. Ceiling mounts offer flexibility in positioning and adjustment, allowing you to optimize the projection angle and minimize obstructions.
- Integrating with Audio Systems: For a cinematic experience, consider integrating your projector with a home theater audio system. Connect the projector to a surround sound system or soundbar to enjoy immersive audio along with the large-screen visuals.
With these tips and guidelines, you are well-equipped to choose, set up, configure, and use a projector effectively. Whether it’s for home entertainment, business presentations, or educational purposes, a projector can transform your viewing experience and make a lasting impression.


